Updated and more accurate SOA installation steps here.
This installation is for a Windows 7 based machine.
You can use these instructions for both 32 and 64bit machines.
You will need at least 4GB of RAM to install all the required components for Oracle SOA Suite 11g.
You will need to download the following files to proceed with the installation.
Go to Oracle SOA suite download page here.
Under Oracle SOA Suite 11g Installations, select release 11.1.1.7 and then Microsoft Windows 32-bit JVM.
Download the following files.
Database (OracleXE112_Win32.zip).
WebLogic server (wls1036_win32.exe)
Repository creation utility (ofm_rcu_win_11.1.1.7.0_32_disk1_1of1.zip).
Jdeveloper (jdevstudio11117install.exe).
SOA (ofm_soa_generic_11.1.1.7.0_disk1_1of2.zip and ofm_soa_generic_11.1.1.7.0_disk1_2of2.zip)
You need to download Jdeveloper SOA extension from a different location.
Jdeveloper SOA extension (Download from here).
You need to install these in the following order:
Database.
WebLogic server.
Repository creation utility.
SOA.
Jdeveloper.
Jdeveloper SOA extension.
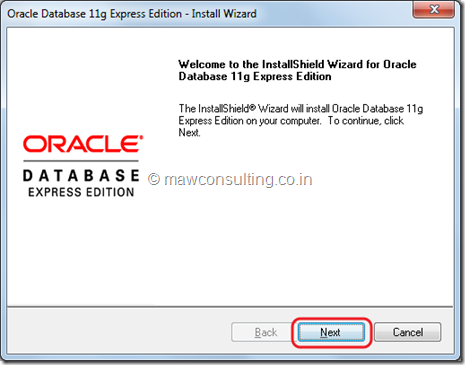
Click next in the following screen
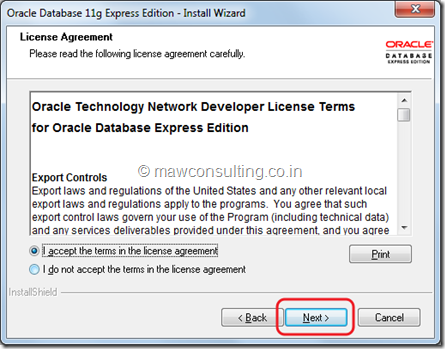
Accept the terms in the following screen and click next
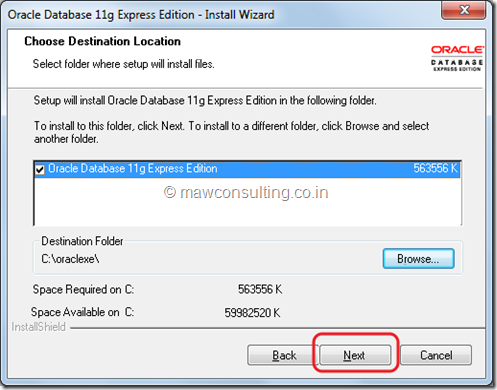
Use the default location or change to a location without space In the path.
Click Next.
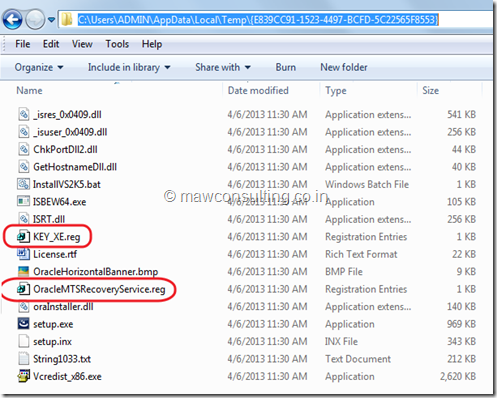
Now, go to the following location :
C:\Users\user_name\AppData\Local\Temp\{E839CC91-1523-4497-BCFD-5C22565F8553}
Replace user_name with the logged in username. The last entry in the path might be different for you.
Make a copy of OracleMTSRecoveryService.reg and rename the copy to KEY_XE.reg
Now proceed with the installation.
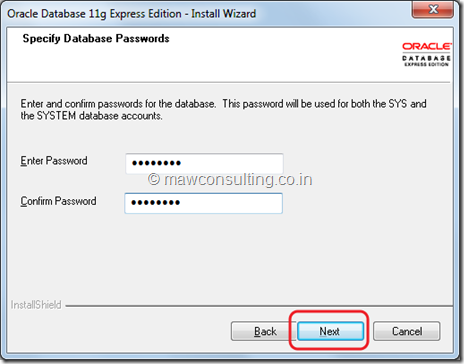
You can specify a password for the SYS user in the following screen.
Use welcome1 as the password.
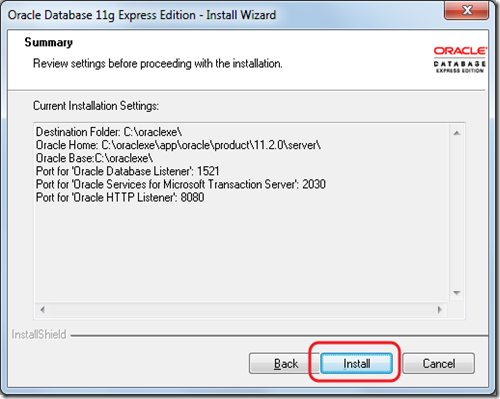
Review the details and click install.
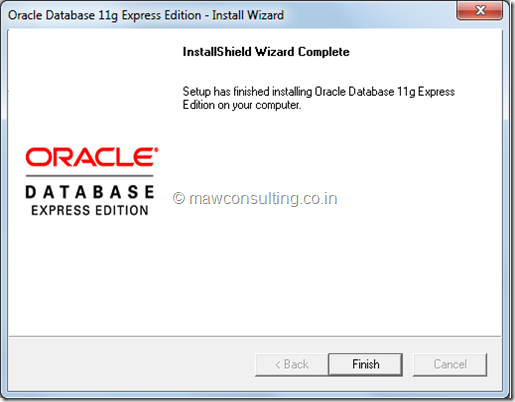
Once the installation is complete, click finish.
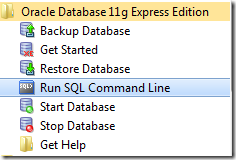
Run the following commands at the SQL prompt.
connect sys/welcome1@XE as sysdba
show parameter session
show parameter processes
alter system reset sessions scope=spfile sid='*';
alter system set processes=300 scope=spfile;
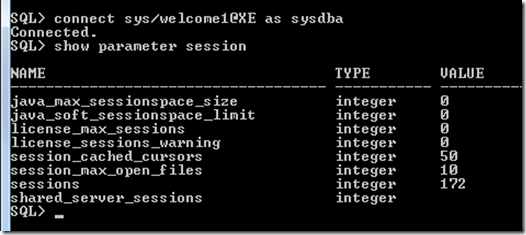
You will see the following output.


After running the above commands, stop and start the database
Open SQL command prompt and run the following commands to verify that the session limit has increased.
connect sys/welcome1@XE as sysdba
show parameter session
show parameter processes
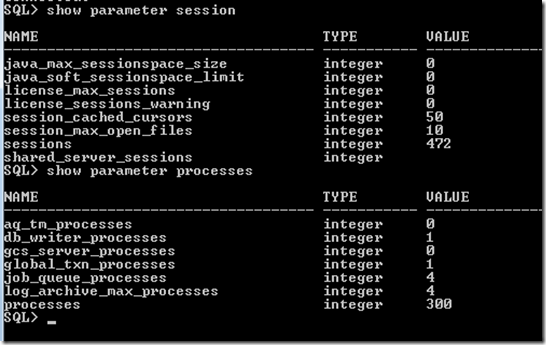
You should see the following output.
Click Next.
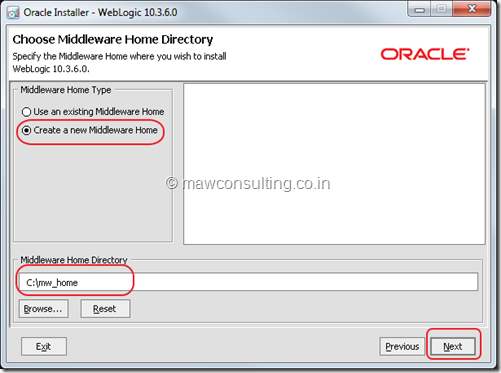
Select ‘Create a new Middleware Home’.Give the directory path as C:\mw_home If you want to install in any other location, make sure there are no spaces in the path.
Click Next.
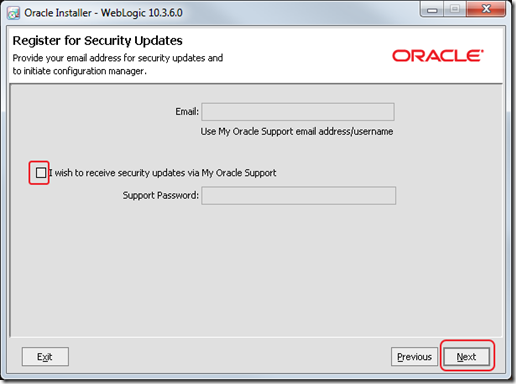
Deselect the checkbox to receive security updates and Click Next.
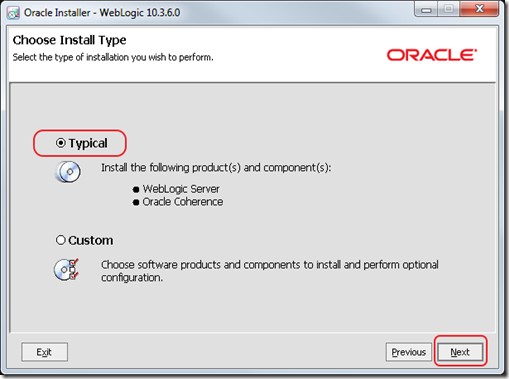
Select Typical installation and Click Next.
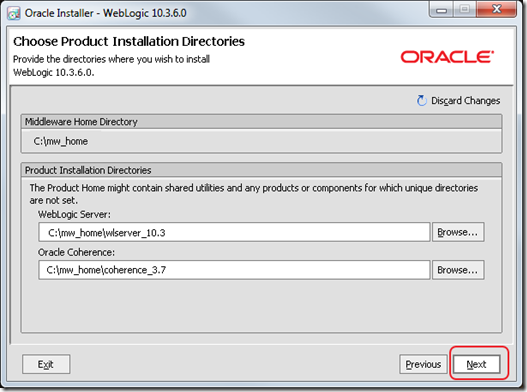
Review the directories and Click Next.
Click next.
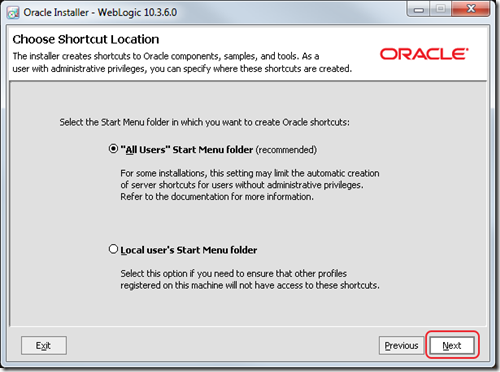
You will see the summary of installation. Click next.
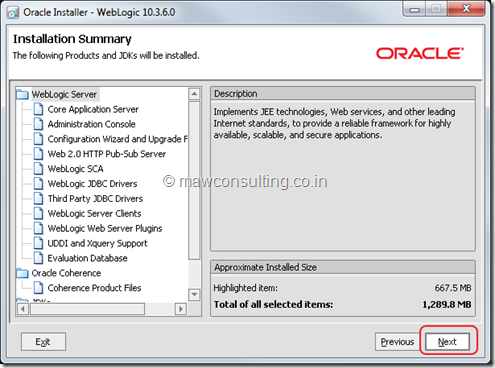
Uncheck ‘Run Quickstart’ and Click Done when the installation completes.
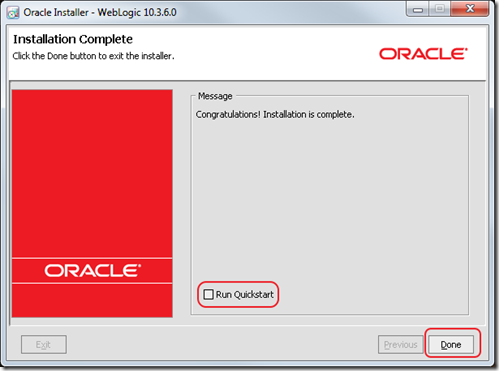
Open Command Prompt to the following location: X:\rcuHome\BIN
Run the following commands:
set RCU_JDBC_TRIM_BLOCKS=TRUE
echo %RCU_JDBC_TRIM_BLOCKS%
rcu.bat
You will see the following output.

Click next.
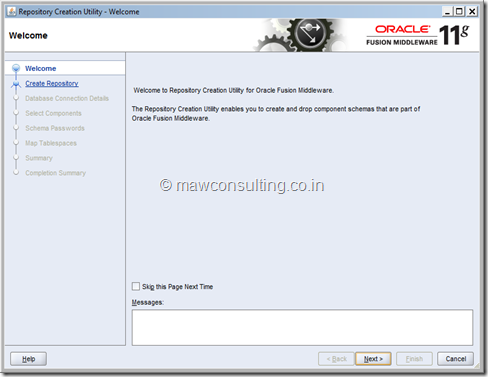
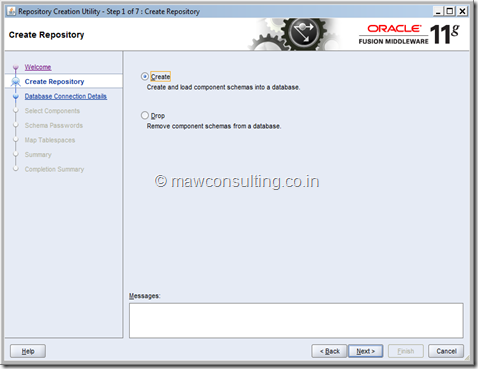
Select Create and click next.
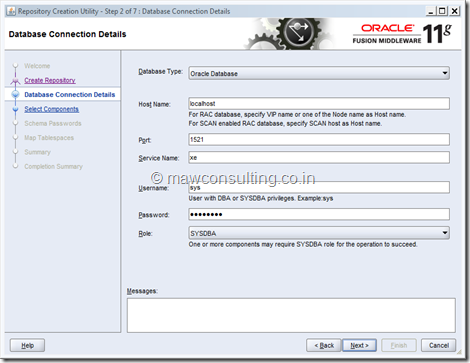
Enter the following details:
Database type: Oracle databaseHostname: localhost
Port:1521
Service name:XE
Username: SYS
Password:welcome1
Role:SYSDBA
Click next.
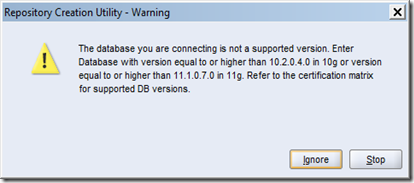
You can ignore the following warning.
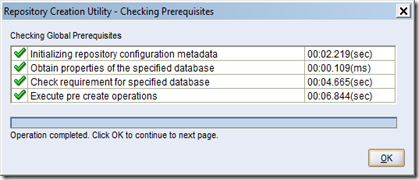
Click ok after the prerequisite check.
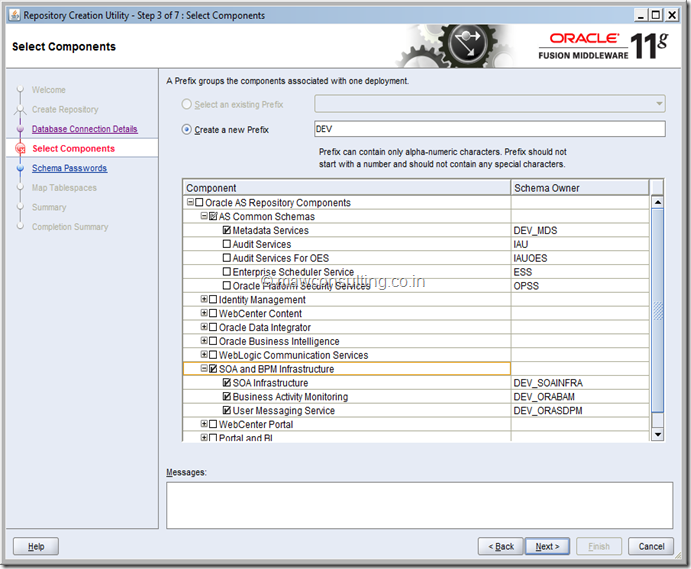
Select SOA and BPM infrastructure.
The dependent components are automatically selected.
Click next.
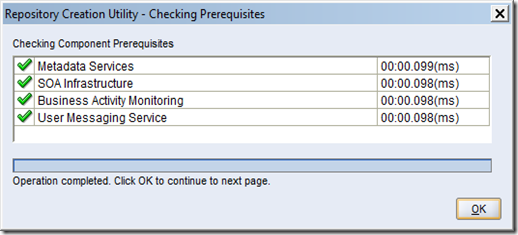
Click ok after the prerequisite check.
 `
`
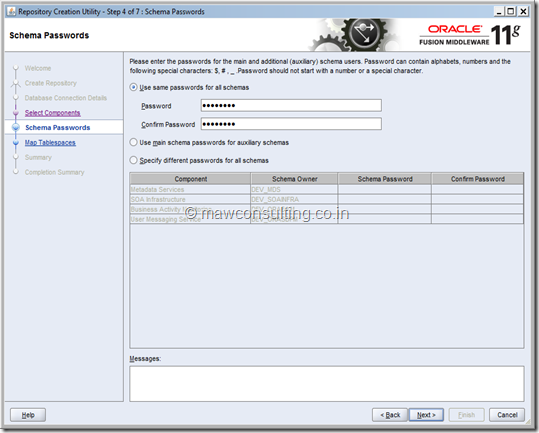
Select “Use same passwords for all schemas” and enter the password as welcome1
Click next.
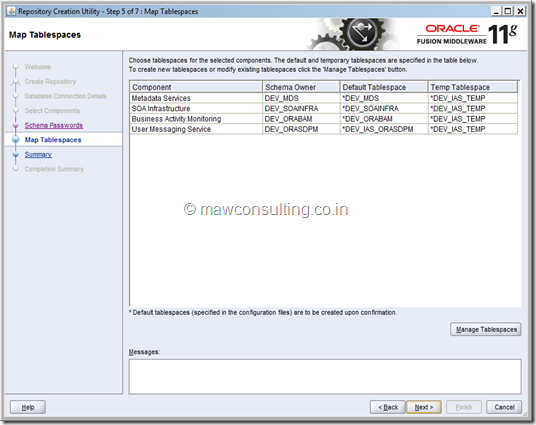
Click next in the following screen.
 `
`
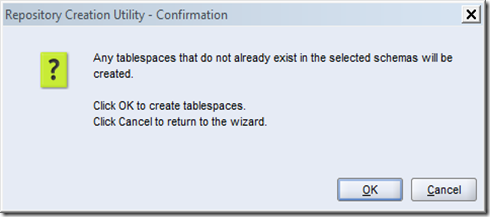
Click ok to create the table spaces.
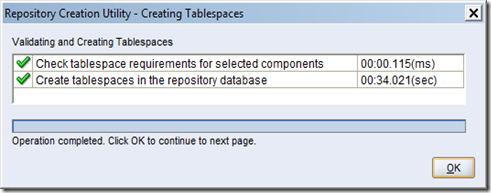
Click ok after the table spaces are created,
 `
`
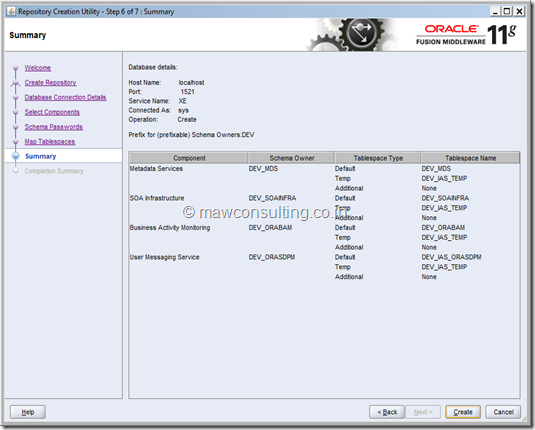
Click on Create to start creation of the required schemas.
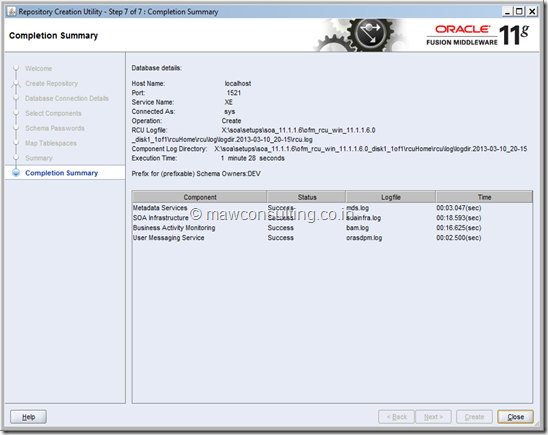
Click on Close after all the schemas are created successfully.
For example: X:\soa
Open command prompt to the following directory: X:\soa\Disk1
Run the following command: setup.exe –jreLoc C:\mw_home\jdk160_29
The jre location is pointing to the JDK installed automatically your middleware home.

Click Next in the above screen.
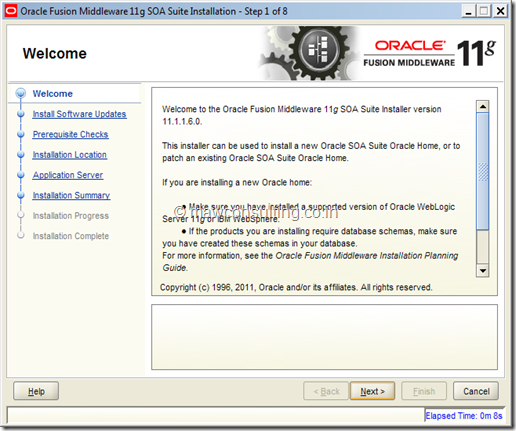
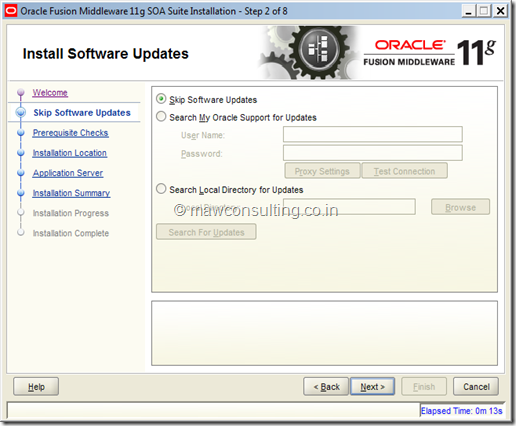
Skip software updates and click Next.
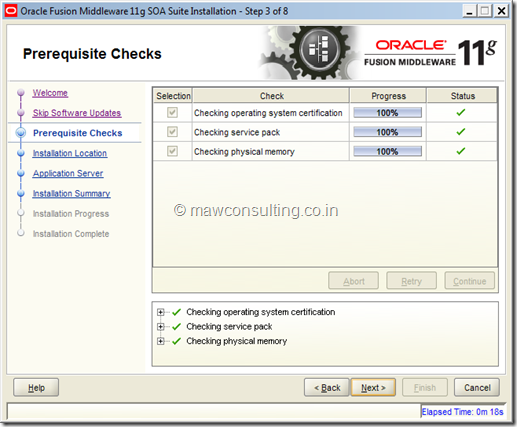
Click Next. After the prerequisite check.
Select the middleware home C:\mw_home and click next.
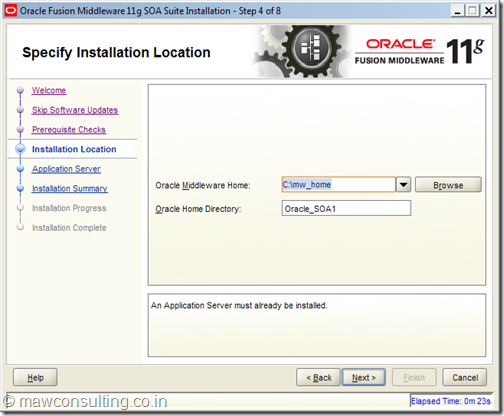
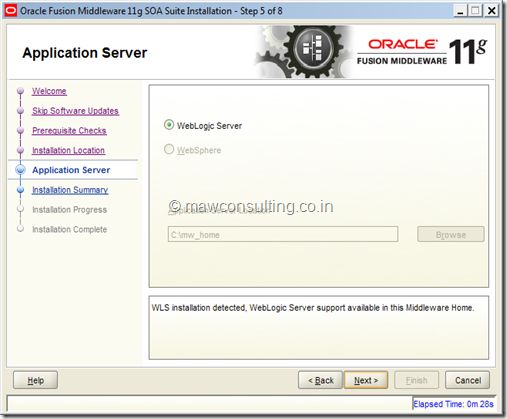
The WebLogic server will be detected.
Click next.
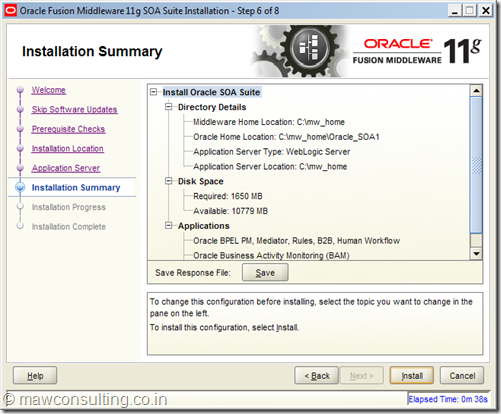
Review the directory details and click Install.
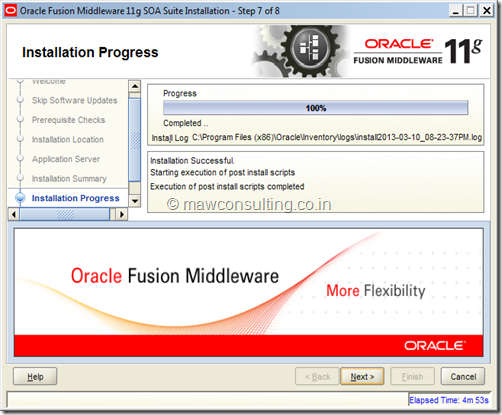
Click Next after the installation completes successfully.
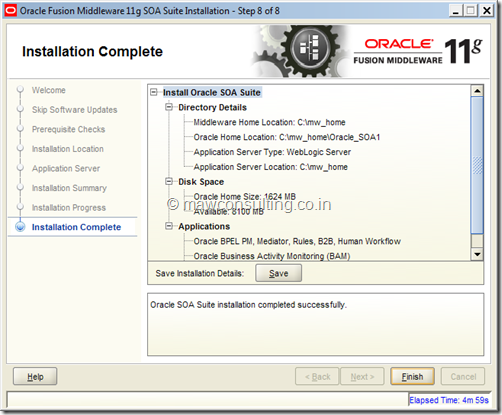
Click Finish.

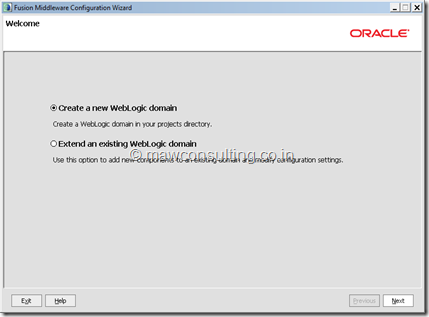
Select ‘Create a new WebLogic domain’ and click next
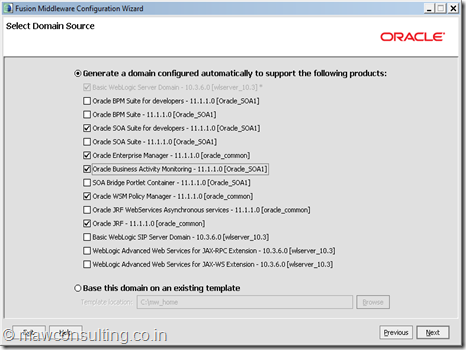
Select ‘Oracle SOA suite for developers’, ‘Oracle enterprise manager’ and ‘Oracle business activity monitoring’.
The dependent components if any will be automatically selected.
Click Next.
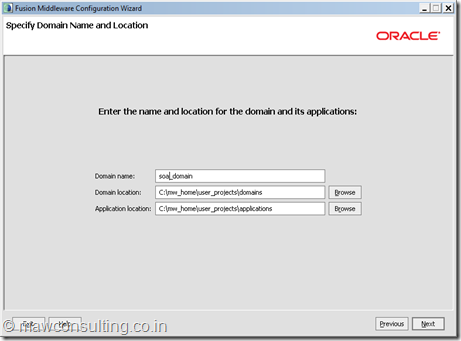
Enter a domain name. For example, soa_domain
Click Next.
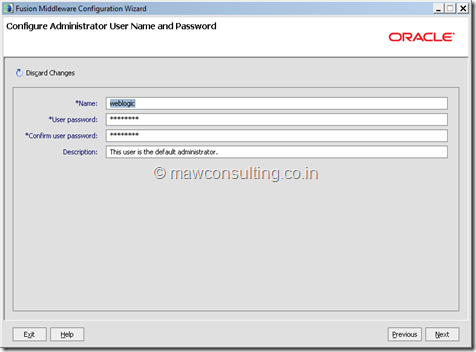
Enter the following details
Name:weblogic
Password: welcome1
Click Next.
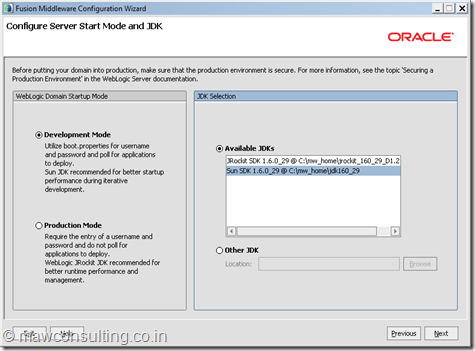
Select ‘Development Mode’ and ‘Sun JDK’.
Click Next.
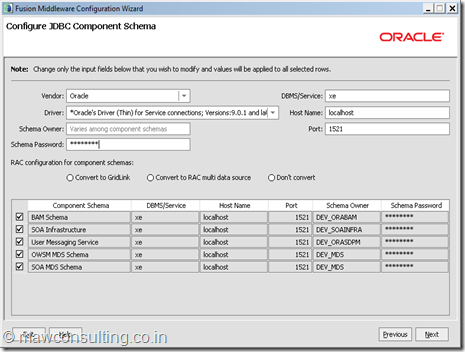
First, select all the checkboxes for all schemas.
Then enter the following details:
Service: xe
Hostname: localhost
Port:1521
Schema Password: welcome1
Click Next.
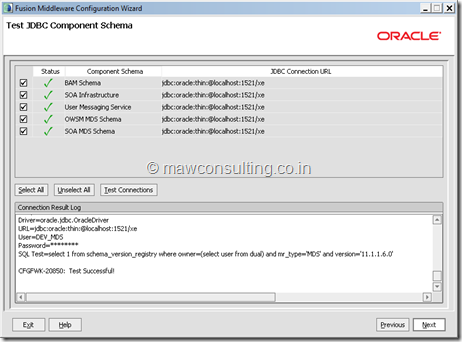
Click Next after all the tests are completed successfully.
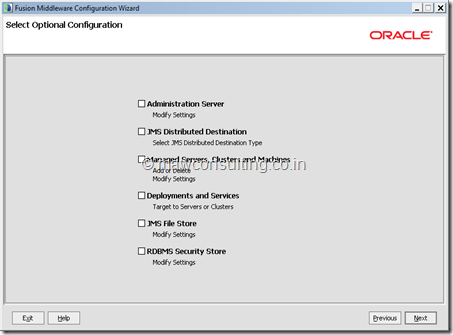
Don't change anything. Click Next.
Review the details and click create.
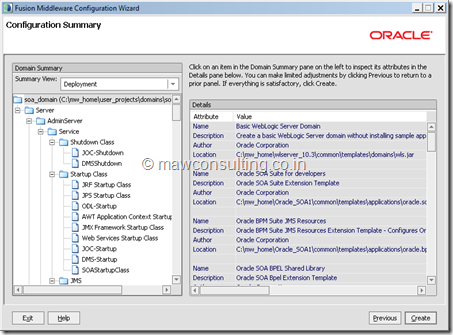
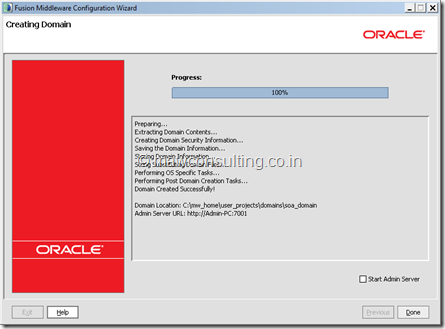
Once the domain is created, click done.
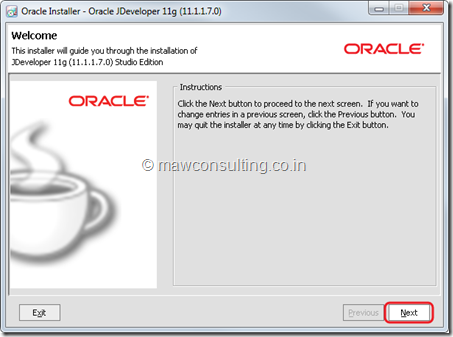
Click Next.
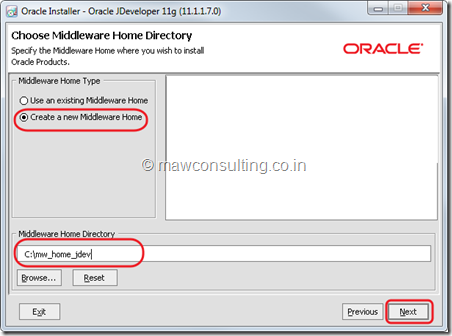
Select ‘Create a new middleware home’.Give directory as C:\mw_home_jdev
Click Next.
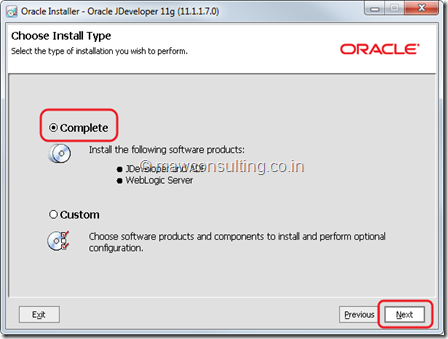
Select complete and Click Next.
Click Next.
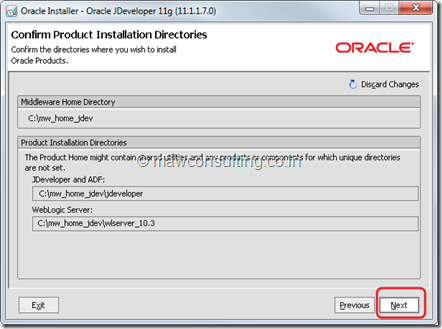
Click Next.
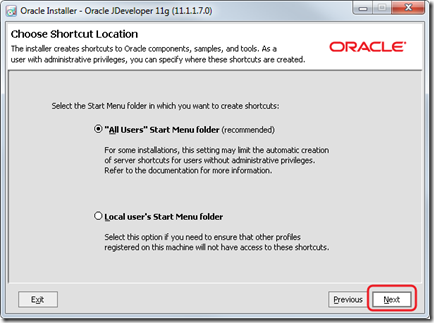
Click Next to finish the installation.
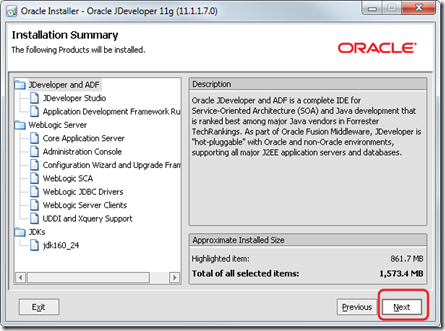
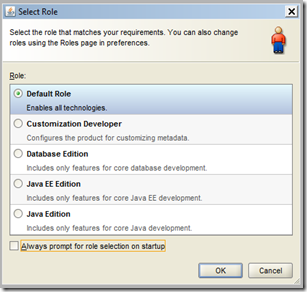
Select ‘Default Role’ and uncheck the checkbox 'Always prompt for role selection on startup '.
Go to Help –> Check for Updates

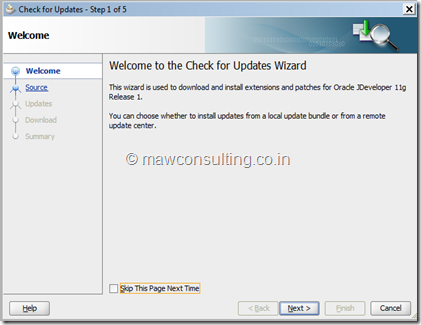
Click Next.
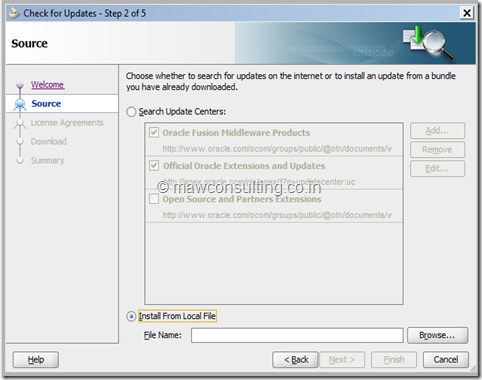
Select install from local file.
Browse for file soa-jdev-extension.zip and open.
Click Next
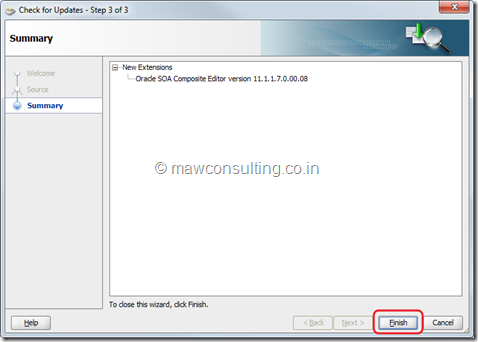
Click Finish.
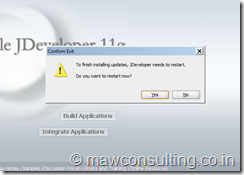
Click Yes to restart the JDeveloper and finish the installation of the SOA extension.
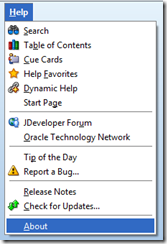
Once Jdeveloper restarts, Go to Help –> About
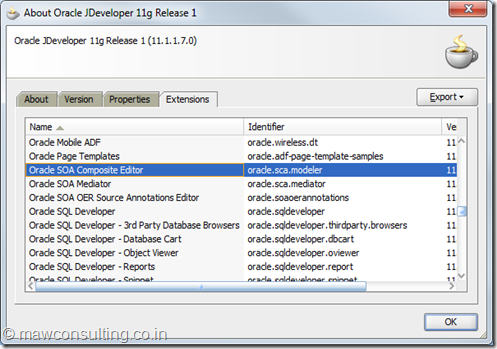
In the Extensions tab you should see ‘Oracle SOA Composite Editor’
Go to Oracle WebLogic –> User Projects –> soa_domain
Click ‘Start Admin Server for Weblogic’
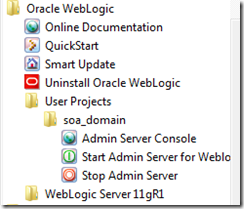
The server will take a couple of minutes to start.
Once the server starts successfully you should see the following message.
SOA Platform is running and accepting requests

To stop the server, press CTRL+C in the server window.
This installation is for a Windows 7 based machine.
You can use these instructions for both 32 and 64bit machines.
You will need at least 4GB of RAM to install all the required components for Oracle SOA Suite 11g.
You will need to download the following files to proceed with the installation.
Go to Oracle SOA suite download page here.
Under Oracle SOA Suite 11g Installations, select release 11.1.1.7 and then Microsoft Windows 32-bit JVM.
Download the following files.
You need to download Jdeveloper SOA extension from a different location.
You need to install these in the following order:
1) Install the database
Extract the contents of OracleXE112_Win32.zip to a folder and run setup.exeClick next in the following screen

Accept the terms in the following screen and click next

Use the default location or change to a location without space In the path.
Click Next.

Now, go to the following location :
C:\Users\user_name\AppData\Local\Temp\{E839CC91-1523-4497-BCFD-5C22565F8553}
Replace user_name with the logged in username. The last entry in the path might be different for you.
Make a copy of OracleMTSRecoveryService.reg and rename the copy to KEY_XE.reg
Now proceed with the installation.

You can specify a password for the SYS user in the following screen.
Use welcome1 as the password.

Review the details and click install.

Once the installation is complete, click finish.

Now we need to increase the session and process limit for the database.
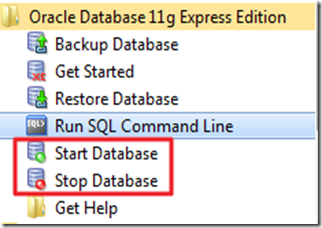
Open SQL Command line From the start menu.
Run the following commands at the SQL prompt.
connect sys/welcome1@XE as sysdba
show parameter session
show parameter processes
alter system reset sessions scope=spfile sid='*';
alter system set processes=300 scope=spfile;
You will see the following output.


After running the above commands, stop and start the database

Open SQL command prompt and run the following commands to verify that the session limit has increased.
connect sys/welcome1@XE as sysdba
show parameter session
show parameter processes
You should see the following output.

2) Install WebLogic Server
Open wls1036_win32.exeClick Next.

Select ‘Create a new Middleware Home’.Give the directory path as C:\mw_home If you want to install in any other location, make sure there are no spaces in the path.
Click Next.

Deselect the checkbox to receive security updates and Click Next.

Select Typical installation and Click Next.

Review the directories and Click Next.

Click next.

You will see the summary of installation. Click next.

Uncheck ‘Run Quickstart’ and Click Done when the installation completes.

3) Create DB schema using RCU
Extract the contents of ofm_rcu_win_11.1.1.7.0_32_disk1_1of1.zip to a location without any spaces in the path. for e.g. X:\rcuHomeOpen Command Prompt to the following location: X:\rcuHome\BIN
Run the following commands:
set RCU_JDBC_TRIM_BLOCKS=TRUE
echo %RCU_JDBC_TRIM_BLOCKS%
rcu.bat
You will see the following output.

Click next.

Select Create and click next.

Enter the following details:
Database type: Oracle databaseHostname: localhost
Port:1521
Service name:XE
Username: SYS
Password:welcome1
Role:SYSDBA
Click next.

You can ignore the following warning.

Click ok after the prerequisite check.

Select SOA and BPM infrastructure.
The dependent components are automatically selected.
Click next.

Click ok after the prerequisite check.
 `
`Select “Use same passwords for all schemas” and enter the password as welcome1
Click next.

Click next in the following screen.
 `
`Click ok to create the table spaces.

Click ok after the table spaces are created,
 `
`Click on Create to start creation of the required schemas.

Click on Close after all the schemas are created successfully.

4) Install SOA
Extract the contents of ofm_soa_generic_11.1.1.7.0_disk1_1of2.zip and ofm_soa_generic_11.1.1.7.0_disk1_2of2.zipto a folder without any spaces in the path.For example: X:\soa
Open command prompt to the following directory: X:\soa\Disk1
Run the following command: setup.exe –jreLoc C:\mw_home\jdk160_29
The jre location is pointing to the JDK installed automatically your middleware home.

Click Next in the above screen.

Skip software updates and click Next.

Click Next. After the prerequisite check.

Select the middleware home C:\mw_home and click next.

The WebLogic server will be detected.
Click next.

Review the directory details and click Install.

Click Next after the installation completes successfully.

Click Finish.

4.1) Create SOA domain
Go to start –> Programs –>Oracle SOA 11g - Home1 and click ‘Configure Application Server’
Select ‘Create a new WebLogic domain’ and click next

Select ‘Oracle SOA suite for developers’, ‘Oracle enterprise manager’ and ‘Oracle business activity monitoring’.
The dependent components if any will be automatically selected.
Click Next.

Enter a domain name. For example, soa_domain
Click Next.

Enter the following details
Name:weblogic
Password: welcome1
Click Next.

Select ‘Development Mode’ and ‘Sun JDK’.
Click Next.

First, select all the checkboxes for all schemas.
Then enter the following details:
Service: xe
Hostname: localhost
Port:1521
Schema Password: welcome1
Click Next.

Click Next after all the tests are completed successfully.

Don't change anything. Click Next.

Review the details and click create.

Once the domain is created, click done.

5) Install JDeveloper
Open jdevstudio11117install.exeClick Next.

Select ‘Create a new middleware home’.Give directory as C:\mw_home_jdev
Click Next.

Select complete and Click Next.

Click Next.

Click Next.

Click Next to finish the installation.

5.1) Install JDeveloper SOA Extension
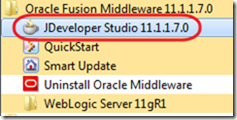
Open jdeveloper from the start menu.
Select ‘Default Role’ and uncheck the checkbox 'Always prompt for role selection on startup '.

Go to Help –> Check for Updates

Click Next.

Select install from local file.
Browse for file soa-jdev-extension.zip and open.
Click Next

Click Finish.

Click Yes to restart the JDeveloper and finish the installation of the SOA extension.

Once Jdeveloper restarts, Go to Help –> About

In the Extensions tab you should see ‘Oracle SOA Composite Editor’

Starting and Stopping the SOA server
Go to ‘All Programs’ in the start menu.Go to Oracle WebLogic –> User Projects –> soa_domain
Click ‘Start Admin Server for Weblogic’

The server will take a couple of minutes to start.
Once the server starts successfully you should see the following message.
SOA Platform is running and accepting requests

To stop the server, press CTRL+C in the server window.

Thanks, Really helpful...
ReplyDeleteHi Vinay
ReplyDeleteThanks for posting this .
I'm trying to install Oracle SOA on my Windows 7 64 bit.
For that I've started to download the Oracle DB Express Edition 11g but it is mentioned like " Does not work in Windows x64 ".
Can you please let me know whether its worth to download and install 32 bit Oracle DB on 64 bit windows 7.
Regards
Vijay
Yes you can install a 32bit Oracle DB on 64bit windows 7.
ReplyDeleteThis comment has been removed by the author.
ReplyDeleteI have followed all the steps mentioned above but when I try to start the servers it gives out of memory error
ReplyDeleteIf in the step SOA Suite installation the command setup.exe –jreLoc C:\mw_home\jdk160_29 don't work use setup.exe –jreLoc C:\mw_home\jdk160_29 -debug. This argument work in Windows 7, when OUI stock and the setup won't start.
ReplyDeleteThanks for sharing this great information I am impressed by the information that you have on this blog. Same as your blog i found another one Oracle SOA . Actually I was looking for the same information on internet for Oracle SOA and came across your blog. I am impressed by the information that you have on this blog. It shows how well you understand this subject, you can learn more aboutOracle SOA . By attending Oracle SOA Training .
ReplyDeleteThanks for sharing this great information I am impressed by the information that you have on this blog. Same as your blog i found another one Oracle Fusion Financials . Actually, I was looking for the same information on internet for
ReplyDeleteOracle Fusion Manufacturing and came across your blog. I am impressed by the information that you have on this blog. It shows how well you understand this subject, you can learn more about Oracle Fusion Supply Chain Management Cloud .
Thanks for sharing this great information I am impressed by the information that you have on this blog. Same as your blog i found another one Oracle Fusion Financials . Actually, I was looking for the same information on internet for
ReplyDeleteOracle Fusion Manufacturing and came across your blog. I am impressed by the information that you have on this blog. It shows how well you understand this subject, you can learn more about Oracle Fusion Supply Chain Management Cloud .
Thanks for sharing this blog. The content is beneficial and useful. Very informative post. Visit here to learn more about Data Mining companies and Data analytics Companies.
ReplyDeleteAvant Consulting is a Singapore SME Business Loan Brokerage that assist clients with business financing and funding needs for success. avant consulting mortgage loan brokering
ReplyDelete